Helldivers 2 Machinery of Oppression: Beating Cyborgs on Super Helldive (No Warbonds)
The Helldiver Corps have launched a full-scale invasion of the Automaton homeworld of Cyberstan. However, the Automatons are prepared to fight to the last, and have deployed no less than three new terrifying enemies on the battlefield to augment their already revolting roster. Cyberstan provides one of the most difficult challenges to Helldivers 2 players so far, and almost necessitates the purchasing of multiple Premium Warbonds to keep up with the difficulty level. However, this Helldivers 2 Machinery of Oppression guide will show you that it is possible to still beat the Automatons on their homeworld with only gear from the base Warbond.
Table of Contents
Helldivers 2 Machinery of Oppression General Information
The Helldivers 2 Machinery of Oppression update sees the Helldiver Corp drop onto the Cyborg homeworld of Cyberstan. All of the fighting on Cyberstan takes place within these Megafactories, with resistance becoming more intense as the frontline pushes further into Automaton territory.
The Megafactories themselves are densely packed with objectives. Detection Towers often overlap with Stratagem Jammers and Anti-Air Emplacements to create a death zone that is incredibly difficult to take.

Explore: Grimshire Guide for Beginners: How to Get Your Farm Ready in Week 1
As a result, Helldivers on Cyberstan often find themselves bereft of air support and resupply for extended periods of time. Players should build their loadout around being able to independently operate from Super Destroyer support.
There is one benefit to fighting within Megafactories, and that is that cover is plentiful which makes fighting the ranged Automaton legions slightly easier. However, the new Automaton units have incorporated methods to flush players out of cover, so it is paramount to keep moving.

Explore: Anno 117 Pax Romana Review: You May Prefer This Over Anno 1800!
Helldivers 2 Machinery of Oppression: Cyborg Agitator
The Cyborg Agitator is a battlefield commander that can take control of nearby Automaton units. An Automaton unit under the Agitator’s control will have yellow glowing eyes and move significantly faster. They will also group up and gather to strike at Helldivers as a unified group, increasing their lethality.
Although not as intimidating as other units, the Agitator is nonetheless a significant problem on the battlefield. Their role as a force multiplier can turn otherwise mundane patrols into a serious threat to Helldiver health. Along with the extra speed they provide to units under their control, the main danger of the Agitator is using their battle groups to flush players out of cover and into heavier weaponry.

Helldivers 2 Machinery of Oppression: Beating Cyborgs on Super Helldive
Helldivers 2 Machinery of Oppression: Beating Cyborgs on Super Helldive (No Warbonds) The Helldiver Corps have launched a full-scale invasion of…

ODST Helldivers 2: How To Stealth Like an Orbital Drop
The year is 2185. Super Earth is at war with 3 alien aggressors. Teams of highly-trained Helldivers are freedom’s only…

Helldivers 2 Automaton: How To Beat The Automatons On Super
The Helldivers are all that stand in the way of the Socialist Automatons and their goal of galactic domination….

Illuminate Helldivers 2 Guide: How To Beat Super Helldive (No
The Voteless have been deprived of their free will, but most importantly, their right to vote. Put them out of…

Helldivers 2 Terminids Guide: Best Loadout For Super Helldive Bugs
The Impaler’s weak spot is the bright forehead above its eyes(?). Of course, if you’re using an Eagle 500kg Bomb,…
Explore: Disco Elysium Ruby: Location, Solution, and Tips
Fortunately, the Agitator does not wear heavy armor, so even light-penetration weapons such as the base AR-23 Liberator can bring it down. Aim for the head to defeat it quickly—once you destroy the helmet, shots to the exposed head underneath will kill the Agitator fast.
Do not think that the Agitator will go down without a fight, however. It carries a cannon and heavy explosive grenades. The Agitator also has a repertoire of martial arts moves which it will not hesitate to use once it gets close enough to Helldivers. It is overall a good idea to keep your distance from these cyborg fighters and focus them down with quick, accurate bursts from your weapon.

Explore: Disco Elysium Endings: Which One Is the Best
Helldivers 2 Machinery of Oppression: Cyborg Radical
A new close-range addition to the mostly ranged Automaton roster, the Cyborg Radical charges at enemies with their cybernetically-enhanced legs before employing a high-powered shotgun and terrifying martial arts to decimate their foes.
Cyborg Radicals often work in tandem with Berserkers to run down Helldivers and flush them out of cover. They also employ smoke grenades to help obscure Helldiver aim and support the advance of the horde.

Explore: Eastward Game Review: Is It Worth Picking Up?
Radicals are one of the main opponents you will be facing on Cyberstan. Much of the fighting on the streets of the Megafactories has been brutal, close-range exchanges with these half-human abominations.
Due to their decently high health, speed and numbers, Radicals require rapid firepower to take down before they reach effective range. The MG-43 Machine Gun can mow them down easily, especially when set to its max 900 rpm. In all situations it is important to keep your distance. If the Radicals manage to get close to you, your priority should be to either kill them or run away.

Explore: Disco Elysium Review: Seven Years Since the Release and Still a Classic
Helldivers 2 Machinery of Oppression: Vox Engine
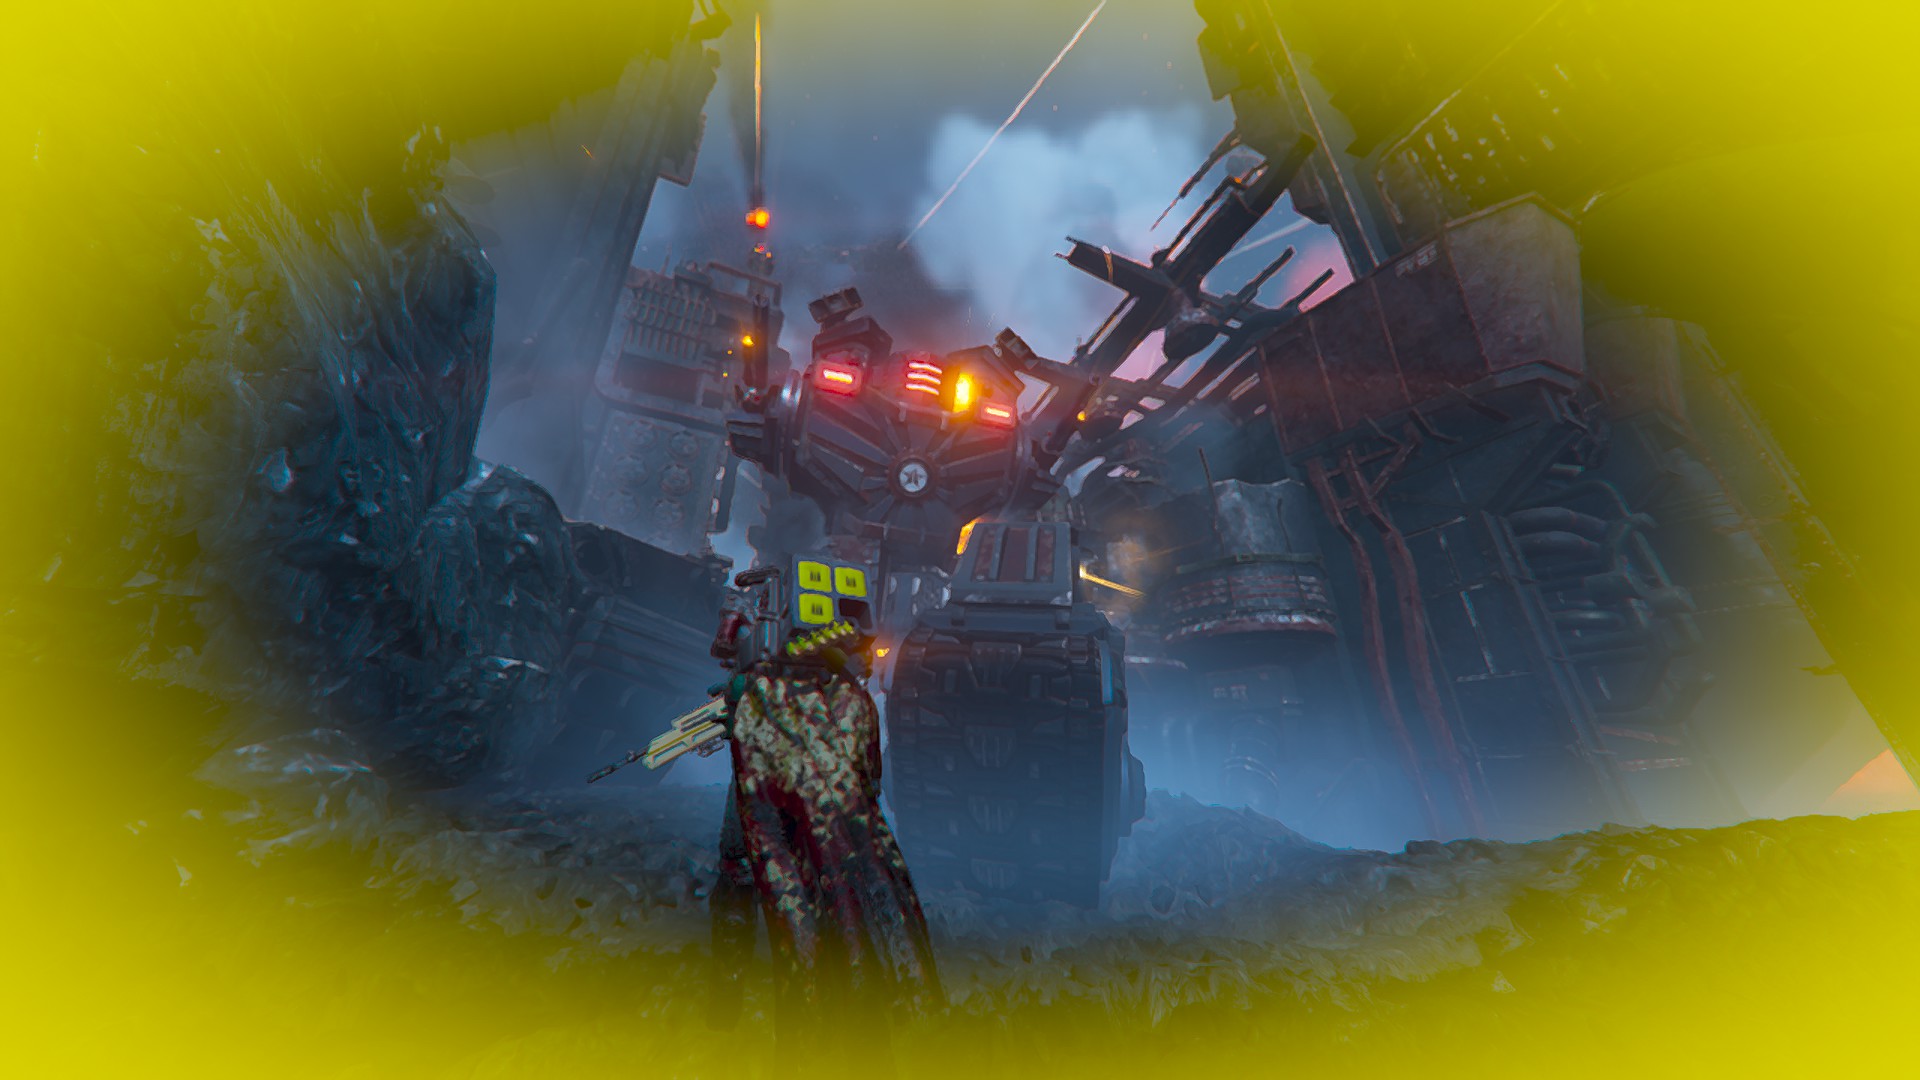
The most lethal addition to the Automaton roster is the Vox Engine, a siege mech armed with a dizzying array of missiles, fusion cannons, and gatling guns. Encased in thick metal armour, these nigh-unstoppable juggernauts block almost every street of the Megafactory and are forcing us to pay a terrible cost for each bloody inch of ground.
The Vox Engine has multiple brightly-coloured vents around its surface, however destroying these will not bring down the great siege mech. Instead, it will open up a chute similar to those on a Fabricator that you can throw a grenade into to destroy. Bear in mind that there is a vent on the bottom of the mech, requiring a brave player to maneuver themselves underneath the mech to destroy it.

Explore: Disco Elysium Skills: How to Make Harrier Pass the Check Easier
Destroying the Vox Engine
There appear to be two ways to destroy the mech currently. The easiest way is to destroy enough of the vents to open up a chute and throw a grenade in. To do this most effectively, clear out the enemies and destroy the side-mounted gatling guns first. The vents themselves have low HP but require medium-penetration weapons to destroy, so again the MG-43 will work wonders here. Getting the grenade into the chute also takes a bit of practice. If you don’t get it the first time, try and try again.
The second way is by blasting it with heavy armour-penetrating weapons. The best way to do this is by shooting at the mech’s mid-section which will ensure the most amount of damage is dealt. You can also shoot the tracks of the siege mech with medium-penetrating weapons, dealing damage to its overall health pool. This will take some time, but if it is not convenient to approach the mech it may be the better choice.

Explore: Animal Well Review: Lovingly Made, But Demanding
Super Helldive No Warbond Loadout
Cyberstan appears to be balanced with Premium Warbonds in mind, so the base Warbond can struggle to keep up with the influx of enemies. However, it is still very much possible to win on higher difficulties with the proper setup.
Armour
Almost every armour is viable on Cyberstan. The amount of utility every armour perk gives cannot be understated. However, Light Armour usage is discouraged as there will be simply be too many shots coming your way to dodge. As a result, using Light Armour means you will most likely have a very high injury/death rate.
I usually run the CM-14 Physician or CM-09 Bonesnapper for the Med-Kit perk, giving me an extra 2 stims to work with. This affords me more leeway to make mistakes and reposition. The Extra Padding perk provided by the default armour is also useful for surviving encounters with patrols.

Explore: Dispatch Game Review: A Refreshing Take on Superheroes
Guns
For your primary, you will want a high fire-rate medium-penetration weapon. The AR-23P Liberator Penetrator is perfect for filling this role. The R-63CS Diligence Counter Sniper, PLAS-1 Scorcher and PLAS-39 Accelerator Rifles are also decent picks. However, these require good aim and lack ammo, making it difficult to use against the hordes of smaller units.
For secondaries, the tried and tested P-19 Redeemer is the best option to dispatch close-range enemies in an emergency. It can shred a Berserker or a Radical in a pinch, should you fail to bring them down with your primary.
As for grenades, the G-12 High Explosive is preferred for dealing with heavy armour and Vox Engines. In particular, they can easily take down a Hulk if you throw it behind them and clear out clumped-up groups of Heavy Devastators.

Explore: The Many Faces of Isu Loki: A Comprehensive Guide to Assassin’s Creed Mirage’s Intriguing Story
Stratagems
The main strategy we want to employ against the Automatons is clearing out most enemies around heavy units like Vox Engines before going in and destroying them. Therefore, we will want stratagems which complement this playstyle.
Support Weapons
Firstly, we will want a support weapon to deal with the hordes of Devastators, Agitators and Radicals. After the recent buffs, the GL-21 Grenade Launcher is perfect for fulfilling this role by providing both powerful area damage and maneuverability. The MG-43 or MG-206 Heavy Machine Gun can also work, but lack the versatility of the Grenade Launcher. Finally, if you want to sacrifice a backpack slot, the StA-X3 W.A.S.P. Launcher can bring a lot of firepower to the team.
If you want to rely on your team or other stratagems to clear out the chaff, then you might consider bringing either the Recoilless Rifle, Quasar Cannon or EAT-17 Expendable Anti-Tank for dealing with heavier units. These are particularly useful for destroying War Striders as their weak points are difficult to get to.

Explore: Cyberpunk 2077 Panam Palmer: Complete Panam’s Storyline as Female V
Backpacks
The utility of backpack slots if you can spare one is immense. Your best options are either the B-1 Supply Pack or SH-32 Shield Generator Pack. Both improve your survivability a lot and give you more leeway to make mistakes.
Defensives
Your only option for defensive stratagems are either the A/MLS-4X Rocket Sentry or FX-12 Shield Generator Relay. All other options simply lack utility or do not survive long enough on the field to make an impact. The Anti-Tank Mines in particular, do not do enough damage to the Vox Engines to warrant taking up a slot. I highly recommend the Rocket Sentry to deal with the vast swarms of Gunships that populate the skies of Cyberstan.

Explore: Deep Dive into the Net👾: Transmission Cyberpunk 2077 All Explained
Mechs and Vehicles
You will want to bring at least one powerful stratagem for dealing with emergency situations. Both the Patriot and Emancipator mechs as well as the new TD-220 Bastion serve these purposes well. As mobile weapons platforms—not protective armor—you must position yourself carefully to maximize their firepower.
Orbitals and Eagles
As mentioned, Super Destroyer support will be severely limited by the presence of multiple Stratagem Jammers on the map. Therefore, it may be beneficial to bring powerful stratagems with long cooldown. The Orbital Laser Cannon in particular is useful for clearing out stubborn encampments. The Orbital 120mm and 380mm Barrages can also help greatly with softening up fortifications before a final assault.
As for Eagles, you have four options: Smoke Strike, Strafing Run, Airstrike, and 500kg. Take the 500kg for enemy destruction or the Smoke Strike for objective-focused play. The Strafing Run and Airstrike provide more consistent damage. However, the various Anti-Air Emplacements around the map will make it very difficult to get full value out of these.

Explore: “Ranyon” or not?👿 Cyberpunk 2077 I Walk The Line Walkthrough
Conclusion: Start Spilling Oil!
Patriot blood has soaked both the skies of Cyberstan and the Megafactories below. While a few Warbonds can help, they aren’t required—and they mean little without solid fundamentals against the Helldivers 2 Automaton armies. The Automatons not going to give up their homeworld without a fight. Fortunately, the Helldivers Corp are ready to spill as much blood and oil as it takes.