Illuminate Helldivers 2 Guide: How To Beat Super Helldive (No Warbonds)
The Illuminate are infamous for being the most difficult and annoying faction to fight in Helldivers 2. This is due to their diverse and resilient roster of units. Harvesters and Overseers will melt you from range, while hordes of Voteless and Fleshmobs will run you down. Illuminate flying units are not only hard to hit but also surprisingly tanky, often needing multiple Helldivers to destroy. This Illuminate Helldivers 2 guide focuses on defeating Super Earth’s most notorious enemy using only base Warbond gear. It will cover strategies and loadouts honed through months of battle on Super Earth itself and the Southern Galactic Front.
Know Your Enemy: Illuminate Helldivers 2 Enemy Types and Strategies
The Illuminate Helldivers 2 enemies adopt a combined arms approach. Their melee units flush you from cover, exposing you to deadly precision fire from energy weapons. Illuminate units are also maneuverable and have high health, making them difficult to take down.
Fortunately, most Illuminate units wear little to no armor, with most having weak spots in their medium armor. Although there’s one particularly annoying exception, which we’ll cover. This creates a unique meta that favours weapons with a high rate of fire and damage over Anti-Tank capabilities. For example, the MG-43 Machine Gun and AC-8 Autocannon will shred almost every single Illuminate enemy. Let’s quickly review the types of enemies you’ll face.

Helldivers 2 Machinery of Oppression: Beating Cyborgs on Super Helldive
Helldivers 2 Machinery of Oppression: Beating Cyborgs on Super Helldive (No Warbonds) The Helldiver Corps have launched a full-scale invasion of…

ODST Helldivers 2: How To Stealth Like an Orbital Drop
The year is 2185. Super Earth is at war with 3 alien aggressors. Teams of highly-trained Helldivers are freedom’s only…

Helldivers 2 Automaton: How To Beat The Automatons On Super
The Helldivers are all that stand in the way of the Socialist Automatons and their goal of galactic domination….

Illuminate Helldivers 2 Guide: How To Beat Super Helldive (No
The Voteless have been deprived of their free will, but most importantly, their right to vote. Put them out of…

Helldivers 2 Terminids Guide: Best Loadout For Super Helldive Bugs
The Impaler’s weak spot is the bright forehead above its eyes(?). Of course, if you’re using an Eagle 500kg Bomb,…

Cyberpunk 2077 Guide: How To Solve Lizzy Wizzy Quest
Lizzy Wizzy descent into cyberpsychosis……
Explore: Helldivers 2 Terminids Guide: Best Loadout For Super Helldive Bugs (No Warbonds)
1. Voteless
The Voteless began as citizens of Super Earth, but have fallen under Illuminate experimentation and mind control. Thousands of them will spawn at higher difficulties and attempt to swarm you on all sides. Though fragile, they’re surprisingly fast and have killed many Helldivers caught reloading or in cover.
Actively control their numbers while fighting the Illuminates to prevent them from overwhelming you. Use crowd control like Orbital Gas or Napalm Strikes, or defenses like the MG-43 Sentry.

Explore: Kingdom Come Deliverance 2 Bad Blood: How to Achieve the Best Outcome
2. Fleshmobs
Fleshmobs are lumbering hulks made from multiple Voteless fused into a single being. They have one of the highest health pools in Helldivers 2 and attack by charging and flailing. This staggers any Helldivers it hits and allows nearby enemies to tear them apart. The Illuminate deploy large numbers of Fleshmobs on higher difficulties, requiring a dedicated stratagem to cull their numbers.
The best option is the AC-8 Autocannon, which shreds them in four direct shots on Flak mode. Fire also works very well on them, and the FLAM-40 Flamethrower will kill one in about half a cannister. The LAS-98 Laser Cannon is useful for setting them on fire, with long range and ammo efficiency. However, it takes more time to kill a Fleshmob, so use crowd control to keep them in position. This can include the Orbital Gas Strike and Orbital Ems Strike.

Kingdom Come Deliverance 2 Reckoning: Infiltrate the Prague Camp Most
Prepare enough slots for the treasures in von Aulitz’s room!…

Kingdom Come Deliverance 2 Sir Valentine Sword: Secure the Game’s
Unlock the ability to kill a guard with two strikes!…

Kingdom Come Deliverance 2 Taking French Leave: How to Kill
No guards can see the escape if they are all dead….

Kingdom Come Deliverance 2 Feast for the Poor: Easiest Route
50 sausages reduce to 1 cabbage in one night….

Kingdom Come Deliverance 2 The Fifth Commandment: Guide to Easiest
Trusting the law does not always bring justice….

Kingdom Come Deliverance 2 Dragon’s Lair: Guide to the Best
Sometimes, an unknightly way is easier……
Explore: Cyberpunk 2077 Guide: How To Solve Lizzy Wizzy Quest
3. Overseers
There are three kinds of Overseers – Normal, Elevated, and Crescent. Normal Overseers walk on the ground and use personal shields. Elevated Overseers fly with jetpacks, while Crescent Overseers shell Helldivers with a large cannon. All three also throw explosive grenades, which you can toss back—but it’s usually better to just avoid them.
All three have medium-armored heads as weak spots and unarmored, high-health bodies. The Elevated Overseer’s jetpack is also unarmoured and will blow up if damaged enough. The Elevated Overseer is the most annoying due to its erratic flight, making it hard to hit. Running away may be wiser if your aim is poor. You can also use the homing Sta X-3 Wasp Launcher or simply leave the Overseer to your sentries.

Explore: Kingdom Come: Deliverance 2 Review: A Game for Players to Sink In and Enjoy at a Slow Pace
4. Watchers
The Illuminate Watcher flies around spotting enemies and calling reinforcements if it sees a Helldiver too long. Stay alert and use ranged weapons to kill it—it’s unarmored with limited aggro range.
4. Harvesters
Harvesters are the heavy units of the Illuminate roster. They are large tripods that generate an energy shield you must destroy before damaging them. They melt Helldivers at range with a beam attack and shock nearby foes with lightning.
To take out Harvesters, destroy their shields with high-rate-of-fire weapons like your automatic rifles or machine guns. Then, aim for the joints with strong, medium-penetrating weapons like the MG-43 Machine Gun or Autocannon. Keep your range and watch out for its eye, which glows when it is about to fire a beam.

Explore: Kingdom Come: Deliverance 2 Blacksmith or Miller: The Best Way of Getting to the Wedding
5. Interlopers/Stingrays
A clear result of reverse-engineering Super Earth’s democratic Eagle, the Illuminate have their own air support in the Interloper aircraft. Also called Stingrays, these aircraft detect you anywhere and strafe, often killing in one hit.
To survive, avoid sprinting and save stamina until you see its attack path—a straight blue line where the Interloper will strafe. Once this appears, either sprint or dive out of the way before turning your weapons on the aircraft. The Interloper has low health and medium armor, so use weapons like the MG-43 or Autocannon.

Explore: Cube Escape The Mill: Unravel the After-Story of Laura’s Return to the Lake & Achievement Guide
6. Gazer and Lightning Spire
Both of these structures can be found in Illuminate encampments and require explosives to destroy, such as those fired by the Autocannon. The Lightning Spire is particularly dangerous as it immediately one-shots Helldivers without Arc-Resistant armour. When assaulting encampments, remember to be careful and on the lookout for these structures.

Explore: Clair Obscur Expedition 33 Ending: Should I Choose Maelle or Verso In the End?
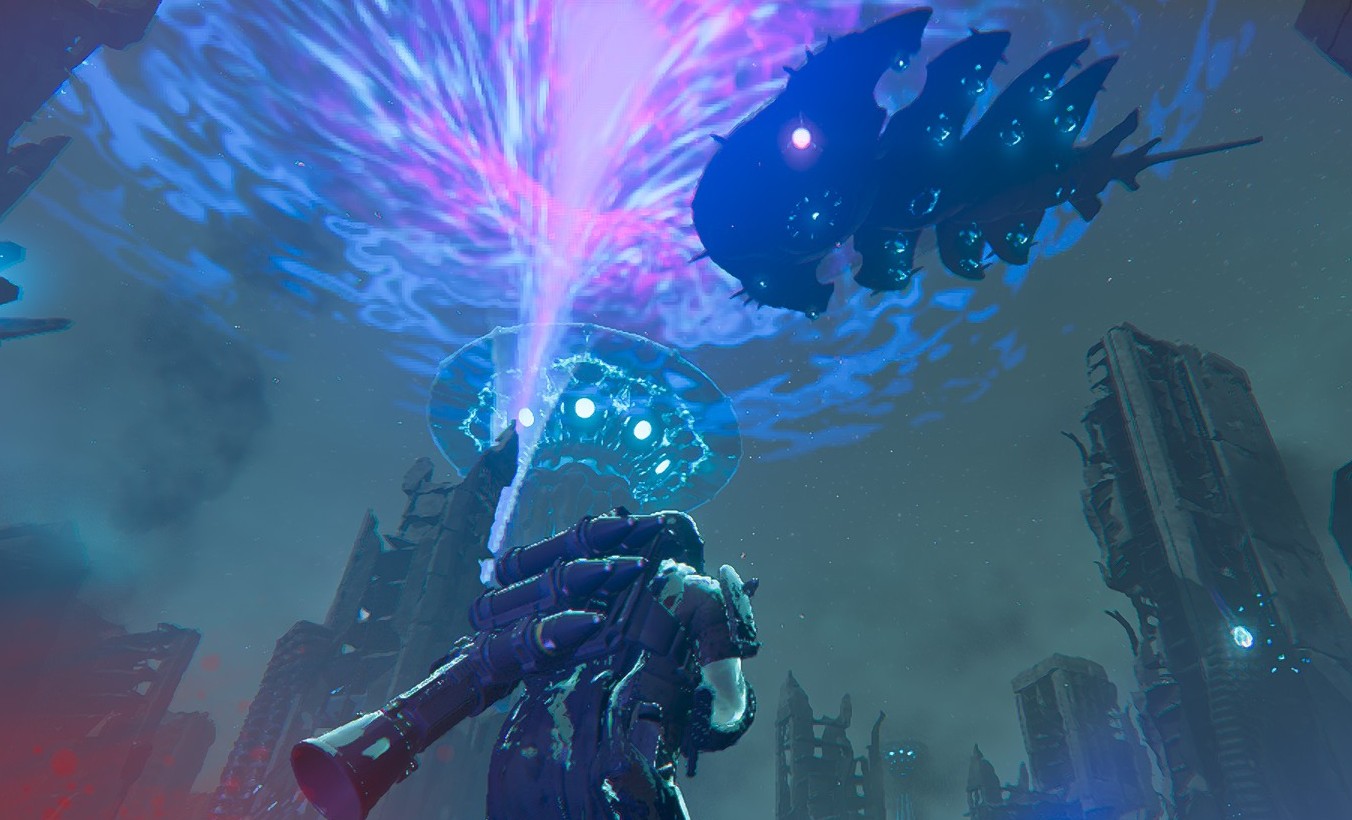
7. Leviathans
The most hated enemy out of all the Illuminate roster, the Leviathan can only be damaged by Anti-Tank weaponry. It is a heavily armoured flying behemoth that slowly wanders the battlefield looking for enemies with its spotlights. Once spotted, the Leviathan will begin bombarding any Helldivers caught out in the open.
The Leviathan is the only enemy that Helldivers are regularly recommended to avoid instead of engaging. The Leviathan soaks up too much damage to be effectively killed by 1 or 2 players. It also takes too long to kill, leaving you vulnerable to other Illuminate attacks while you’re distracted.

Explore: Sultan’s Game Ending: Rebel with Roaming Swordsman & Restore the Starlit Land⭐
The hard truth is that one Helldiver can’t handle the Leviathan and the Illuminate army alone. If not purposely hunting Leviathans, it is suggested that Helldivers focus their loadouts on the rest of the Illuminate roster. When facing a Leviathan, take cover and wait—it’ll float away shortly.
There are, of course, times when we must stand our ground. For Leviathan hunting (“Whaling”), see the third stratagem loadout below. In general, Leviathan hunting needs to be done either as a group or with a specialised loadout and tactics.

Explore: The Sims 4 Fairies: Your Ultimate Guide to Fairy Abilities, Interactions, & Ways of Living!
Illuminate Helldivers 2 Loadout: Armour and Guns
Armour: CM-14 Physician – This armour gives you an extra two stims, and increases each stim effect duration by 2 seconds. This is a massive boost, and keeps you alive much longer. It is especially useful on the Illuminate front, where a lot of enemies will deal chip damage to you over the course of the mission.
Primary: AR-23 Liberator – You could take almost anything for your primary, and it will perform well. The base Liberator is a reliable rifle for quick kills at close to medium range. Its high rate of fire also destroys Illuminate ship shields quickly, making it handy for attacking encampments. Finally, if you can get the Drum Magazine attachment, the Liberator excels at mowing down Voteless hordes.
Secondary: P-2 Peacemaker – I prefer it to the P-19 Redeemer for better ammo economy. Remember to aim for the head, or else you will waste a lot of shots.
Grenade: G-6 Frag Grenade – Primarily for blowing up ships, it can also achieve lots of kills through shrapnel.

Explore: Sultan’s Game Ending: Your Step-By-Step Guide to Defying the Cultist God with the Sultan
Illuminate Helldivers 2: Stratagems
The unique low-armour nature of the Illuminate opens up multiple ways to play against them. Below are three loadouts with different playstyles.
1. Combination 1: Double Sentry Autocannon
- A/MG-43 Machine Gun Sentry
- A/G-16 Gatling Sentry
- AC-8 Autocannon/Sta-X3 W.A.S.P Launcher
- Eagle 500kg Bomb/Orbital Precision Strike/EXO-49 Emancipator Exosuit/Orbital Laser
Antique Nova on YouTube does solo no stim runs and inspired this build. Because enemies are tanky and hard to hit, we want to bring at least two sentries. This will keep the horde off our backs while we focus on objectives.
Explore: A Taste of Night City: Takemura’s Food Journey
The Autocannon is our bread and butter. Keep it on Flak mode all the time, save for killing Harvesters and Interlopers with the APHET mode. This weapon can kill everything except for Leviathans quickly, making it an indispensable part of our kit. A good replacement is the W.A.S.P. Launcher, which was originally the best stratagem for fighting Illuminate when they first came out. A single rocket is enough to kill an Overseer, so space your shots well to avoid overkill.
The last slot is for destroying Warp Ships. Both the Eagle 500kg Bomb and Orbital Precision Strike destroy them through their shields. Choose either, but the Eagle 500kg is preferred for its versatility and reliability in Megacities. If you prefer raw firepower instead, the EXO-49 Emancipator Exosuit is great for brute-forcing objectives or chokepoints. Just be careful of Harvesters, Interlopers, and Leviathans, as these can destroy your Exosuit in seconds. A safer alternative would be the Orbital Laser for a more “fire-and-forget” option.

Explore: Cyberpunk 2077 Clothing Stores: Little China, Corpo Plaza, and Rancho Coronado
2. Loadout 2: Laser Cannon Gas Mines
- MD-8 Gas Mines/Orbital Gas Strike
- A/G-16 Gatling Sentry
- B-1 Supply Pack/AX/AR-23 “Guard Dog”/SH-32 Shield Generator Pack
- LAS-98 Laser Cannon/MG-43 Machine Gun
This time, we swap out the Machine Gun Sentry for some form of Gas, either Mines or Orbital Strike. This is because we are going for a Support Weapon that does not feature a backpack. These do less damage, so Gas will help us shore up the difference and buy us some breathing space. This frees up our backpack slot for either the Supply Pack or Shield Generator Pack for extended survivability. You can also take the Guard Dog to help with Watchers and Overseers.
Compared to the first loadout, this lacks a dedicated objective-clearing stratagem, meaning we need to be on the move and kite more. On the flip side, the extra backpack stratagem lets us be more flexible in approaching situations by providing more utility.
Of course, both of these loadouts lack Anti-Tank weaponry and require you to try to ignore the Leviathan. This will understandably not sit well with some Helldivers, who feel a burning need to bring these tyrannical overlords of the sky to ground-based justice.
Like Captain Ahab of the Moby Dick myth, you forgo self-preservation for the chance to bring down this hated nemesis of Managed Democracy. Where others cower and hide, you stand as a stalwart example of dedication to the ideal of Galactic Liberation. For you, there is an option.

Explore: Explore Cyberpunk 2077 Food Settings
3. “Captain Ahab” Whaling Loadout
“From hell’s heart I stab at thee; for hate’s sake I spit my last breath at thee. Ye damned whale.” – Moby Dick (1851)
- Recoilless Rifle
- FX-12 Shield Generator Relay
- A/G-16 Gatling Sentry
- MD-8 Gas Mines

Explore: Sims 4 Model Career Mods: Embark on the Dazzling Model Career
A) How to kill a whale
During the recent Major Order, Helldivers successfully killed 750,000 Leviathans over a single week. Leviathan whaling was honed into a fine craft, and thanks to InvisoBill and CommanderKai we now know the fastest way of killing a Leviathan. He goes into detail in this video, but you can skip to the next paragraph for a TL;DR:
Explore: Sultan’s Game Dragonslaying Ending: Unlock the Dragonslaying Legend Against the Sultan
Essentially, a Leviathan can only be killed by dealing a total of 15000 damage to it. The fastest way to do this requires five Recoilless Rifle shots to specific sections of the Leviathan. This is because if a shot breaks a section, the damage overflows and does not deal the full number to the Leviathan. This will then necessitate a sixth shot to bring it down.
Therefore, you should aim for sections that will not break, or only break after two shots. These sections can be seen below:

Explore: Sultan’s Game Godslaying Ending: Fight Side by Side with the Sultan!
B) Hunting Leviathans solo
Although CommanderKai recommends a full squad to go whaling, it is possible to do it with two or perhaps even one Helldiver. The loadout provided aims to finish the main objectives and then spend time hunting Leviathans around the map.
The shield relay will protect you from Leviathan shots and stray Overseer blasts. The Gatling Sentry and Gas Mines will keep the horde at bay while you take the time to reload and shoot your weapon.
Overall, whaling alone is slow, risky, and resource-intensive. However, if you don’t have the Anti-Tank Emplacement from the Urban Legends Warbond, this loadout gives you the best shot of doing it.

Explore: Level Up the Romance: Exploring Sims 4 Dating App Mod
Conclusion
This Illuminate Helldivers 2 Guide has covered how to defeat the Illuminate at the highest difficulties of the game. The unusual characteristics of the Illuminate roster make them difficult to fight and unpopular among the community. However, it is not too difficult to adapt to their tactics, given the right loadouts and strategies. After a few tries, you too will soon be wreaking havoc on the faction that came the closest to destroying Super Earth.