Timberborn Guide: How to Survive Where 80% of Players Don’t
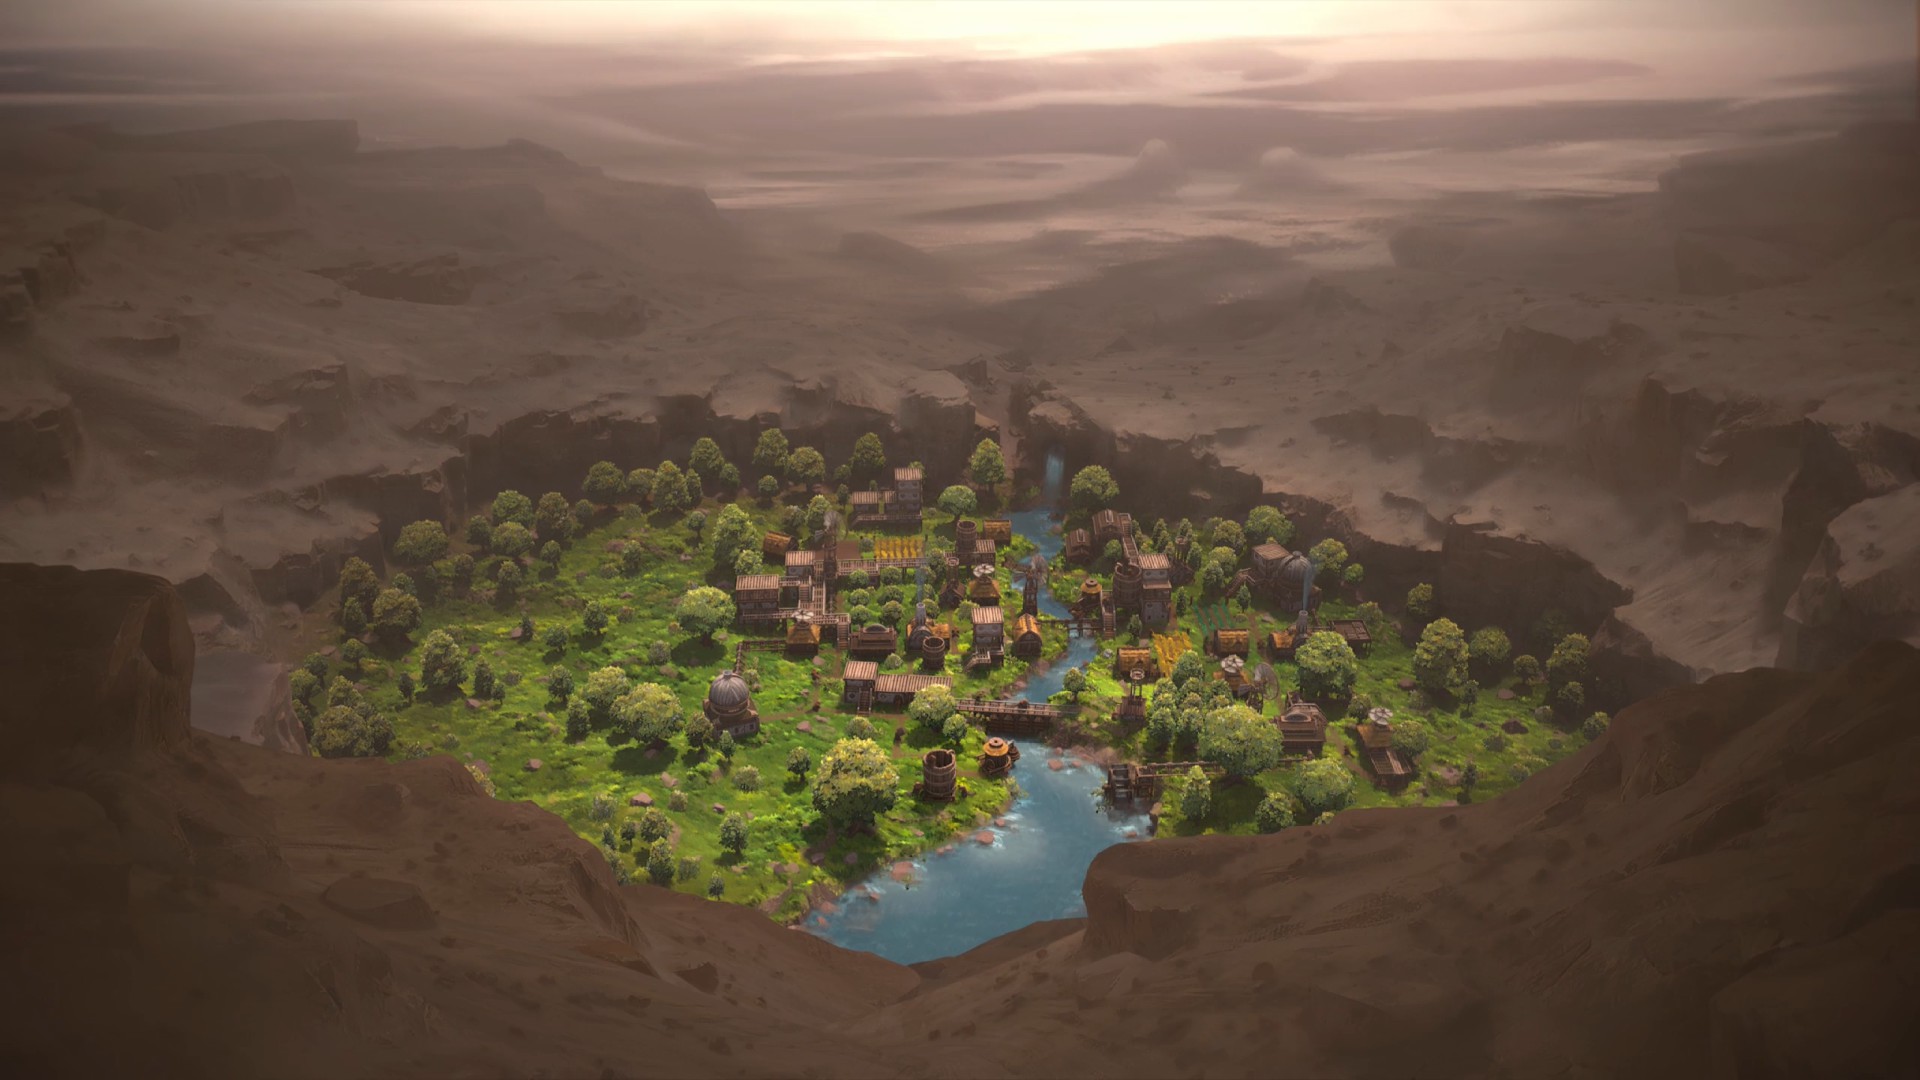
Timberborn has just officially come out of early access with version 1.0 on Steam, and people are clamoring to play this unique city building game. Differentiating itself from other titles such as Cities: Skylines with a focus on water flow management, the game has successfully carved out a niche for itself by providing engaging and addicting gameplay for hours on end. However, it has an unexpectedly steep learning curve which has prevented many new players (perhaps more than 80%!) from enjoying the full experience that the game has to offer. This Timberborn guide will show you how to lead your first colony to a prosperous start and prepare against future hardships.
Timberborn Guide: Starting Out
Preliminary Warning: Don’t Follow the Tutorial!
Any Timberborn guide should tell you not to follow the in-game tutorial. Unless you are playing on Easy Mode, following the tutorial will likely get your beavers killed. This is for two reasons. Firstly, the tutorial tells you to make too many Lodges for Beavers and not enough production facilities to support them all. Secondly, the tutorial does not tell you to build Dams, or at least does not tell you to build them fast enough.
These two factors ultimately lead to the demise of many beaver colonies during the first Drought, as the tutorial fails to adequately prepare players for it. In fact, over 80% of players have yet to build a Dam in the game, which is extremely strange given how central Dams are to progression and survival.
Therefore, the first objective of this Timberborn guide is to get a Dam up and running by your water source. Everything we do in the first half an hour of the game is to build a Dam as soon as possible. If you already know most of the basics, you can skip ahead to the Timberborn Dams guide section. Otherwise, feel free to carry on reading.

InZOI Romance Secrets: How to Go from Strangers to Soulmates🥰
Can I have more than one lover in inZOI?😍…

InZOI Cars: Drive Stunning Cars in InZOI’s Open World (Get
Can I drive Mercedes-Benz in inZOI?!…

The Mr. Rabbit Magic Show: Celebrate the Tenth Anniversary of
Mr. Rabbit delivers the greatest magic show ever to Rusty Lake!…

Rusty Lake Roots: A Haunting Tale of Family Tragedy🩸
The sacrifice, love, and revenge of the Vanderbooms……

Cyberpunk the Sun Ending Explained: Become the Legend of Afterlife☀️
Just like old times… Here’s to Rogue and Johnny….


Monster Hunter Wilds Jin Dahaad: What Is It and How
It’s time to hunt down the Chinese loong!🐲…

Monster Hunter Wilds Hirabami: What Is It and How to
For the first time, the dung pods come in handy!…

Sims 4 Basemental Drugs Mod: Purchase, Production, Settings, and Buffs
A realistic mod of drug, alcohol, and nicotine abuse that you must try….

Sims 4 Food Mods: Nothing Beats a Full Fridge and
Time to explore more recipes and food options for a grand party! 🥂…

Timberborn Guide: How to Survive Where 80% of Players Don’t
Over 80% of Timberborn players fail to take this one crucial step according to Steam! Read on to find out……

Oxygen Not Included Polluted Water: How to Recycle Water
Mop the urine on the floor before it pollutes your air!…

Oxygen Not Included Mid Game Guide: Managing Resource Depletion
Stop your colony from collapsing this way!…

Terraria 1.4.5 Summoner Guide: Defeat the Moon Lord with No
Good luck in bending the world of Terraria to you and your minions’ will!…


Oxygen Not Included Beginner’s Guide: How to Get an Easy
Make your first 50 cycles easier 😌…
Explore: Terraria 1.4.5 Summoner Guide: Defeat the Moon Lord with No Sweat
Stop – Wait a Minute
The very first thing you want to do when you start your game is to pause and take a look around your world. The beginning of the game is a race against time to prepare before the first Hazardous Weather events start happening. While the game is paused, take note of:-
- The map’s water sources
- Your food sources (i.e., berry bushes and green patches)
- Your wood sources (i.e., trees)
Keep the game paused while you plan out your buildings and Paths. This lets you focus on micromanagement, which can be crucial for survival.

Explore: Tropico 6 Multiplayer: Friends or Foes?
Beaver Necessities – Wood
Beavers and logs go hand in hand, like Mac and Cheese or Coachella and drugs. Logs are the main building resource. Start by placing 3–4 Lumberjack Flags near your closest trees. Beavers only cut marked trees within the Flags’ range.
Skip Log Piles for now—early logs are used immediately for buildings, and Lumberjack Flags provide enough storage until you build your first Dam.

Explore: Anno 1800 Beginner Guide: Straightforward Tips for New Players to Build Thriving Cities
Trees won’t replant unless fully grown ones are nearby, so unmark a few in your grove to renew your supply until you can build a Forester.
Once you have enough Science, unlock a Forester to plant trees. Plant a mix like Birch, Pine, and Maple for a steady, staggered log harvest.

Explore: Oxygen Not Included Polluted Water: How to Recycle Water
Beaver Necessities – Food and Water
Your next priority should be obtaining Food and Water for your Beavers, as they will die within a day or two without it. Place a Gatherer Flag near the closest Berry Bushes. Then, place 2 Water Pumps by your River to give your Beavers access to fresh water. Finally, set up an Efficient Farmhouse and plant 100-150 carrot crops around the Farmhouse. This will meet your food and water needs until you finish the Dam.
Storing food and water outside of Hazardous Weather is largely unnecessary until after your first Dam. Beavers will simply go up to the production building to satisfy their needs. However, you should stock up on water before your first drought to ensure your crops stay irrigated. Any plant that does not have access to water (i.e., a green patch) will die within a day.
As a rule of thumb, 1 Beaver consumes about 2 Water units and 2 Food units a day. A Small Water Tank holds 30 Water units, so 3-4 full Small Water Tanks are enough to sustain the default starting Beaver population (13) throughout the first Drought on Normal. Droughts progressively get longer throughout the game, so make sure to scale your storage as necessary.

Explore: Oxygen Not Included Mid Game Guide: Managing Resource Depletion
Housing – Your Means Of Population Control
Housing in Timberborn works somewhat differently to other games. Beavers do not die if they do not have somewhere to sleep at night and will be fine sleeping on the ground outside. Instead, housing dictates your population size – Beavers reproduce to fill up any existing space in your housing. Subsequently, Beavers won’t produce children (kits) unless a housing slot is free.
You can, and actually should completely ignore housing until you build your first Dam. So long as your Beavers are fed and given water, they will survive. Conversely, increasing housing to more than your starting population risks overpopulation, and subsequently depleting your resources before the Drought is over.

Explore: Grimshire Critters: Complete Beginners Guide to Raising Critters
The Pursuit of Science
Science allows you to unlock new buildings and is necessary to continue your progress through the game. Generating science requires a science production building, the first of which is the Inventor building. Build one as soon as you deal with your food and water situation to be able to quickly tech to a Forester.
For now, one Inventor is enough.Later, build 3–4 Inventor Huts on low priority to employ idle Beavers. Early science is key to unlocking Floodgates and Levees to handle Badtides, which can start by Cycle 4 on Normal. You will also need Science to obtain the District Crossing which will allow inter-District trade.

Explore: Oxygen Not Included Beginner’s Guide: How to Get an Easy Start
I Have The Power
Power is required to, well, power certain buildings, and initially can be generated by one of two ways. The first is a Power Wheel, which needs a Beaver to keep it running. The second is a Water Wheel which is automatic, but is dependent on water flow. Later on, you will unlock many different ways of generating and transferring power.
For now, simply build a Water Wheel at your nearest river, and attach a Lumber Mill next to it. Power generators generally do not require transmission and can directly provide power to buildings if placed next to them. Make sure the Lumber Mill glows blue while you’re placing it. This indicates that it is properly connected to a power source. The entrance should also be accessible to Beavers through Paths. Later on you may want to make use of Power Shafts and other transmission to optimize your Power grid (which will require its own dedicated guide).

Explore: Grimshire Guide for Beginners: How to Get Your Farm Ready in Week 1
Well-Being – Who Needs It?
Well-being measures your colony’s quality of life. It is influenced through relaxation buildings like Campfires and Rooftop Terraces, as well as factors such as health quality and diet variety. As you reach certain thresholds, Well-Being provides bonuses to your Beavers such as extra Health, Work Speed, Movement Speed, etc. It also encourages your Beavers to reproduce.
With that said, you can ignore this until you set up your basics. For now, having a low Well-Being score does not seem to negatively impact your colony. You can postpone improving Well-Being until you handle more pressing matters.

Explore: Disco Elysium Ruby: Location, Solution, and Tips
Timberborn Dams Guide: Dam It!
Another iconic duo, Beavers and Dams are inseparable in both real life and in-game. That’s why it’s concerning that fewer than 20% of players have earned the Steam achievement for building their first dam. You can find dams under the Landscaping tab, and they play a crucial role in surviving your first drought.
Dams block water from going downstream to a certain point. Identify where your colony needs water and place a dam downstream. This ensures you keep a water supply for irrigation and drinking during droughts.

Explore: Disco Elysium Endings: Which One Is the Best
Do this as soon as possible – Droughts can start by day 16 on Normal Mode and will last between 2-3 days. You will be unable to rely on food stores to last you long enough until the Drought ends. It is therefore paramount to Dam the river upstream to prevent your water from flowing away.
Once you have completed this, you should be safe for the immediate future. Your next objective should be to set up a system to divert your rivers once the Badtides begin in about 3-4 cycles.

Explore: Anno 117 Pax Romana Review: You May Prefer This Over Anno 1800!
Timberborn Districts Guide: Making My Way Uptown
You can only place buildings within a District’s range, which you can extend with paths or ziplines. The game warns you if a building is out of range, and beavers won’t continue construction. You can’t connect districts with paths unless you build a District Crossing, which requires 600 Science to research. Until then, keep early districts fully self-sufficient, since you can’t transport goods between them.
To start a new District, click on the District Management tab and place a District Center, which is free to build. You will then need to select the new District Centre and migrate over Beavers from your other District population. Beavers need to be able to walk to the District, so they will likely need Stairs to cross over cliffs and Rivers (they can swim as long as there are stairs leading to the bottom of the River). Make sure to repeat all the steps outlined above under Timberborn Guide: Starting Out before migrating over your Beavers, as Districts do not share resources.
Using this method, creep towards your River’s water sources to start setting up a diversion system. By this point, you should have unlocked Floodgates, Levees, and Stairs, which will all be necessary for this purpose.

Explore: Disco Elysium Skills: How to Make Harrier Pass the Check Easier
Timberborn Badtide Guide: Badwater Gets Put in the Naughty Corner
Badtides are hazardous events where all water becomes contaminated for a short time (1–3 days on Normal). This “Badwater” kills crops, trees, and any beavers that drink or swim in it, so you must divert it away from your clean water supply.
The best approach is to redirect it from the source so it flows off the map and disappears. If that’s not possible early on, divert it into a separate channel as a temporary solution.
To prepare, identify the water’s path, build levees to guide it into a “dirty water” channel, and add floodgates on top. This lets you control flow—supplying clean water normally and blocking it during a Badtide. An example on the Waterfalls map can be seen below:

Explore: Disco Elysium Review: Seven Years Since the Release and Still a Classic
Timberborn Guide: Conclusion
Once you’ve completed this, you’ve officially made it through the early stages of Timberborn. From here, you can settle in and enjoy the rest of the game just like any other city builder. Be sure to save often before trying something new, as even small changes can sometimes trigger major ripple effects across your colony. Above all, have fun experiencing one of the best city builders in recent years!


