Fields of Mistria Greenhouse: Best Setup and Farming Income
The Greenhouse is a substantial setup in farming simulation games, and Fields of Mistria is no exception. Greenhouses allow seasonal crops to grow year-round. However, the Large Greenhouse is not necessarily the best option for every farm. This post explains how to build Greenhouses in Fields of Mistria, and the best setup for them.
When Can the Player Unlock the Greenhouse?
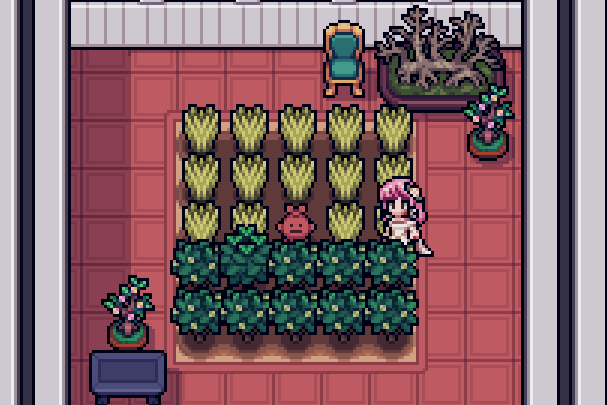
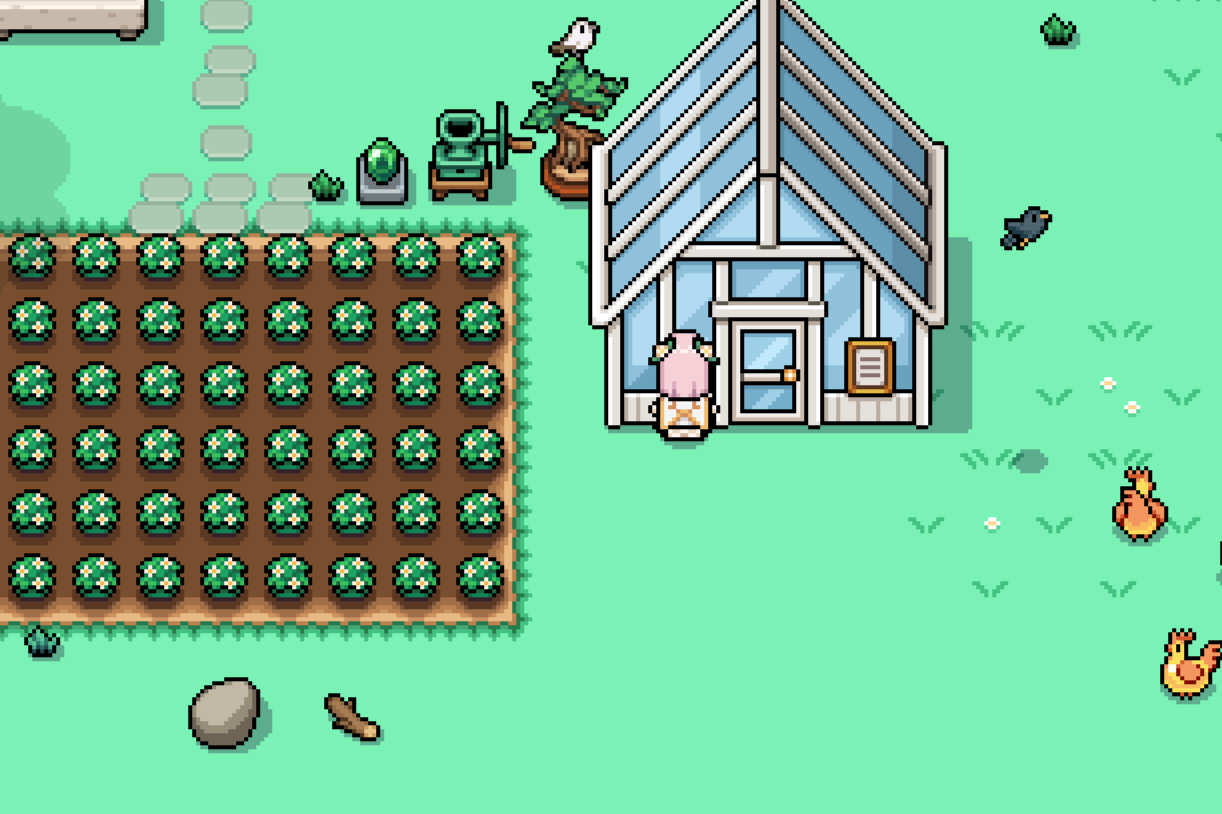
Fields of Mistria Greenhouse blueprints become available after completing the “Upgrade the Carpenter’s Shop” Story Quest. This main quest unlocks after the Town Rank reaches Emerald Rank Level 70. Once the Carpenter’s Shop has been upgraded, the player can purchase the Greenhouse blueprints from the Carpenter, with rewards including a free Small Greenhouse blueprint as well.
There are two options: the Small Greenhouse and the Large Greenhouse. Both allow seasonal crops to grow outside their normal seasons. There is also empty space around the growing area where the player can place decors and furniture.
- The Small Greenhouse provides a 5×5 growing area
- The Large Greenhouse provides a much larger 10×10 area.

Explore: Fields of Mistria Sprinklers: How to Get Water Sprite Statues
Fields of Mistria Greenhouse Prices and Materials
- The Small Greenhouse Blueprint costs 50,000 Tesserae and requires:
- 20 Refined Stone
- 20 Glass
- 20 Hard Wood
- The Large Greenhouse Blueprint costs 100,000 Tesserae and requires twice those materials:
- 40 Refined Stone
- 40 Glass
- 40 Hard Wood
The Large Greenhouse therefore costs twice as much and provides four times the growing area. On paper, that makes it the obvious upgrade. In practice, however, the additional space can also make farming considerably more time-consuming because of the lack of the auto-harvest mechanism, and the sheer amount of the Water Sprite Statues required for auto-watering.

Explore: Travellers Rest Yeast: All Yeast Types and Where to Get Them
Best Greenhouse Setup with Regular Water Sprite Statues
The Greenhouse works particularly well with a regular Water Sprite Statue.
A Water Sprite Statue automatically waters crops within a 2-tile radius, while the Small Greenhouse provides a 5×5 growing area and the Large Greenhouse has a 10×10 growing area. The player just needs to set up:
- Either 1 regular-sized Water Sprite Statue with the Small Greenhouse,
- Or 4 regular-sized Water Sprite Statues with the Large Greenhouse.
Another consideration behind using the regular-sized Water Sprite Statue is that it is easier for the player to collect Temple Flower and Thorn Vine (materials required by the statues), which grow in the Deep Woods.
One major drawback of growing a large amount of crops in the greenhouses is that it can be cumbersome to harvest manually. Without using the mistmare’s perk, “Harvest Horse”, to harvest the crops, a large greenhouse can turn into a substantial daily chore.

Explore: Master Mettle in Travellers Rest: Quick Quest Guide with Grog Recipe Location
Calculation of the Farming Income From Small and Large Greenhouse
The 5×5 and 10×10 growing areas also make the Small and Large Greenhouse particularly easy to use as a farming income benchmark.
Take the Small Greenhouse as an example:
- A full greenhouse contains 25 crop spaces, meaning one complete harvest produces 25 crops.
- If we are using the seed selling method to generate income and the crops are processed through a Seed Maker, each crop can produce 1–3 seeds. That means one full 5×5 harvest can potentially produce: 25 crops → 25–75 seeds
- For crops whose seeds sell for 150 Tesserae, such as Strawberries, Snow Peas, Corn, Wheat, and several other crops, those seeds represent: 25 seeds × 150t = 3,750t to 75 seeds × 150t = 11,250t in seed sales.
This provides a very simple way to estimate the potential income from a greenhouse farming cycle. And for a Large Greenhouse, it can produce 100 seeds × 150t = 15,000t to 300 seeds × 150t = 45,000t in seed sales.
The combination of Greenhouse, Water Sprite Statue, and Seed Maker can become the end-game finance solution, providing the player with all the revenue they need for making any further decoration and furnishing of their house and farm in Fields of Mistria.
💐Whether you’re just starting your farm or chasing 100% completion, our Fields of Mistria Guide Hub is your home for walkthroughs, farming advice, fishing guides, romance tips, crafting tutorials, and much more. New guides are added regularly, so be sure to check back as your adventure continues. Like you, we’re fans of farming sims!

Fields of Mistria Greenhouse: Best Setup and Farming Income
The Fields of Mistria Greenhouse enables year-round crop growth; choose wisely of the setups and layouts for best results….

Fields of Mistria Sprinklers: How to Get Water Sprite Statues
Water Sprite Statues equal sprinklers in Fields of Mistria. Explore how to craft them and the best layout for installation….

Fields of Mistria Tips: 7 Things to Know Before Getting Too Far
Make tens of thousands of Tesserae a day and progress to the end game in Fields of Mistria with these…

4 Best Farm and Life Sim Games Like Fields of Mistria
Tired of Fields of Mistria? Try these four games, each offering its own unique twist on farming, survival, management, and…

Fields of Mistria Refined Stone: How to Get and Use the Stone Refinery
Make the most of the Stone Refinery by turning your excess stone into valuable materials for crafting and farm automation….