Graveyard Keeper 2 Combat Guide: How to Win Battles with the Least Effort
Combats in Graveyard Keeper 2 are not optional side activities that the player can ignore. Instead, they form a major part of the main questline, opening new areas, introducing important NPCs, and unlocking resources needed for further progression. And the combat gets more difficult after each fight. This guide explains how to build a reliable fighting force, manage mercenary costs, and approach difficult battles with skill and without wasting valuable resources.
Table of Contents
- Why Completing Combats in Graveyard Keeper 2 Is Important
- Mercenaries: When to Pay Coins and When to Use Wine
- Zombie Soldier Equipment: Go Straight for Iron
- Meeting the Minimum Defence Power Requirement
- Understanding Enemy Attack Priorities
- Battle Pacing: Timing for Defence & Capturing Checkpoints
- Checkpoint Mechanics and Common Bugs
- Potions and Difficult Combat in Graveyard Keeper 2
- Graveyard Keeper 2 Combat Rewards: Town Gratitude, Victory Banner, Defender’s Emblem
- A Practical Strategy for Winning More Battles: Always Overprepare
Why Completing Combats in Graveyard Keeper 2 Is Important
Combat in Graveyard Keeper 2 is essentially part of the main questline. Winning battles opens new districts of the Town, introduces new characters, and provides access to resources that the player cannot obtain through ordinary gathering.
For example, Jack remains trapped on the other side of the river until the player advances through the relevant combat progression. Further battles also lead to new NPCs, including Gunter, the Looters, Bishop, etc., while opening access to important materials such as Special Wood and Steel.
It is most likely that if the player realizes that one quest gets stuck or one item is not craftable, it is because the combats that lead to the discovery of new areas, NPCs, and materials are not finished.
Explore: Graveyard Keeper 2 Dream Dust Recipe & Use: Easy Way to Make
Mercenaries: When to Pay Coins and When to Use Wine
Hiring the Mercenary for battle is a great choice since the game largely limits how many zombie squats the player can own. And having more squats simply offers more mobility compared to building more defense structures. However, hiring mercenaries becomes increasingly expensive as the player wins more battles.
The initial price starts at 5 Silver and increases after each victory. The later prices reach 1 Gold per battle before the Mercenary offers an alternative payment – three bottles of Gold-quality wine per battle instead.
However, there is an important catch: once the player submits the wine, subsequent Mercenary payments require three bottles of Gold-quality Wine every time, with no coin payment replacement.
So, here are some practical considerations before switching to Wine payment:
- To craft Gold-quality Wine, you need:
- Gold-quality Grape Seeds either from the Davy the Dagger or from Grape Seeds cultivation of your own Vineyard. (Check farming guide here!)
- Garden Bed Farming Mastery level 16 to reach a 100% success rate.
- Farming Mastery level 14 to cold press and brew the Gold-quality Wine.
- Or, using Umami to upgrade Silver-quality Wine.
- To make money, here is a guide on how to make money.
Choose carefully and think about which path is easier for you.

Explore: Graveyard Keeper 2 Stone Quarry: Location & Zombie Automation
Zombie Soldier Equipment: Go Straight for Iron
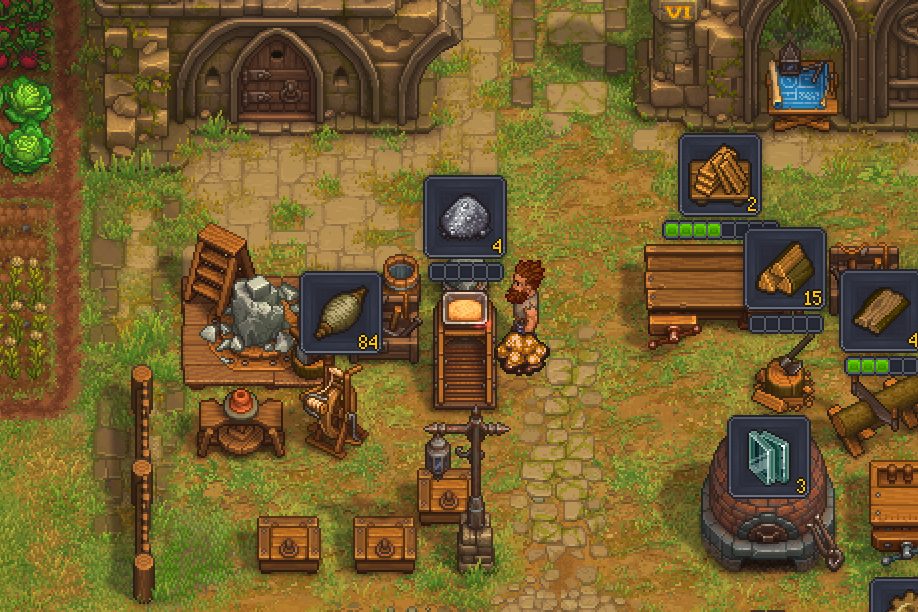
Zombie soldiers require armour and a pike or bow to fight. They cannot use swords like the player. The game allows the player to equip different tiers of equipment, but constantly crafting intermediate upgrades can consume a considerable amount of materials and time.
For that reason, going directly for a full Iron equipment set is a sensible goal, and of course, weapons that have the highest attack, such as Battle Bows, before unlocking the Steel tech.
Steel equipment is the next major upgrade, but it takes almost 15 battles in total and liberating the whole town to reach. The Iron equipment will be the main contributor for most of the time.

Explore: Kingdom Come: Deliverance 2 Review: A Game for Players to Sink In and Enjoy at a Slow Pace
Meeting the Minimum Defence Power Requirement
Before starting a battle, the game checks whether the player’s Defence Power meets the required threshold. Both soldiers and defensive architecture contribute to this score, so the player has two ways to increase it.
Although defensive structures are important, prioritising soldiers is generally the better long-term investment.
- Soldiers provide mobile combat power. They can move across the battlefield, attack enemies, and help capture checkpoints.
- Barricades and Archer Towers can defend positions near the base, which is generally helpful for the first 1 to 2 waves of attacks, but that’s it.
While preparing for the defence architecture, a balanced combination of Barricades and Archer Towers provides a useful foundation. There is one reason behind this. Each battle limits the number of Barricades and Archer Towers the player can place in the battle. The player might invest in 5 Archer Towers to meet the minimum Defence Power score, but the game may only allow the player to place 2 Archer Towers in the battle.
The player can also use the battle’s preparation phase to observe the battle layout before committing to the fight. If the battle has started but the player has not begun the actual fighting, the player can “Retreat”. The player does not need to pay the mercenaries again, and there is no penalty for this. Then, the player can build and adjust the defence architecture accordingly.


Explore: Fields of Mistria Greenhouse: Best Setup and Farming Income
Understanding Enemy Attack Priorities
The enemy zombies’ target priorities make positioning essential, particularly when the player wants to preserve soldiers from Battle Part I to Battle Part II, such as Operation POTATO Part I & II.
In practice, enemies tend to prioritise targets in this order:
- Checkpoints
- Defensive architecture
- The player
- The player’s soldiers
The biggest concern is losing defensive structures and soldiers unnecessarily. A destroyed structure needs to be rebuilt before the next battle, while a squad with all soldiers fallen may be unavailable for a later fight in a continuous sequence. Preserving both therefore saves time and resources.
With the attack priority considered, there are several things that the player can try out in the battles:
- Attack enemies from behind: One useful tactic is to wait until enemies engage a defensive structure, then attack them from behind. While the enemy focuses on the structure, the player can deal damage without being attacked by the zombies.
- Lure enemies away from soldiers: The player can also attract enemies and lead them away from their own squads. Once the enemies follow the player, the soldiers gain more time and space to attack without taking unnecessary damage. This works particularly well if the squads have many archers.


Explore: Kingdom Come Deliverance 2 Bad Blood: How to Achieve the Best Outcome
Battle Pacing: Timing for Defence & Capturing Checkpoints
Battles combine waves of enemies with checkpoint capture objectives. The player not only needs to kill every enemy to win, but must secure the required checkpoints before the battle’s timer expires.
Capturing some checkpoints can disperse the green fog and stop new enemies from spawning at that location. Securing these points early reduces the pressure on the player’s army and can make later stages easier to manage.
- After surviving the first major wave, the player should begin capturing nearby checkpoints rather than remaining at the base for too long.
- However, rushing directly toward distant checkpoints is usually a mistake. Enemies left behind can bypass the player’s soldiers and attack the base instead. If the base falls, the player loses the battle regardless of how many checkpoints have been captured elsewhere.
- A safer approach is to clear and secure nearby objectives first, then gradually advance toward more distant positions.
Explore: Kingdom Come Deliverance 2 Reckoning: Infiltrate the Prague Camp Most Efficiently!
Checkpoint Mechanics and Common Bugs
Checkpoint capture has a few rules that can cause confusion during battle.
- First, the flag only changes when friendly units occupy the checkpoint area. Putting down the lead flag at a checkpoint does not automatically capture it. The player’s soldiers or the player need to reach that area for the capture process to begin.
- Second, some checkpoints disperse the green fog after capture, reducing or stopping enemy generation from that position. This makes certain checkpoints more valuable than others, especially early in the battle.
- Finally, the player must capture all required checkpoints before the timer expires to win. Clearing enemies without completing the objectives is not enough.
Bugs That May Appear
- What if a checkpoint flag refuses to move? Occasionally, the flag may appear stuck even when the player has brought the army to the checkpoint. The player should first check whether the soldiers have actually reached the checkpoint rather than remaining nearby. If the flag still refuses to descend, try moving the lead flag to another checkpoint and return to the faulty one later. This can reset the situation and allow the capture to proceed.
- Why do I lose the battle after capturing all the checkpoints? The squads the player sent to a checkpoint can reposition on their own or get squeezed out of the checkpoint area by the zombie enemies. That can cause the player to lose the checkpoint and the battle…

Explore: Cool Minecraft Mods: Better Beach Biomes
Potions and Difficult Combat in Graveyard Keeper 2
Even with suitable equipment and a well-prepared army, some battles can remain difficult. The Bathhouse basement is a particularly frustrating example because it appears shortly before the player can reasonably rely on Steel equipment upgrades.
If the player has already improved the soldiers, built the available defensive structures, and adjusted the checkpoint strategy without success, potions become an important alternative.
- Damage Potion increases the damage by 30 for the player and the mercenaries.
- Healing Potion restores the player’s Health.
- Zombie Motivator Potion makes the zombie squads attack faster.
- Berserker Potion allows the player to attack with no cost to Stamina.
Mind that the effects of most potions can only last around 30 seconds (a rather ungenerous design considering how much effort the player needs to put into preparing a battle…) The player can consider making a large batch of potions if they get really stuck at a battle. On the other hand, potions should always be the last resort, and most of the battle problem can be solved with more Defence Power and the battling techniques mentioned previously.
If the battle remains overwhelmingly difficult, mods are another option for players who would rather avoid repeatedly fighting a difficult encounter. This cheat menu mod can basically modify the balancing problem that the player can encounter in Graveyard Keeper 2.
Explore: Sultan’s Game Riel Guide: The Barbarian Slave Who Brings an Army
Graveyard Keeper 2 Combat Rewards: Town Gratitude, Victory Banner, Defender’s Emblem
One of the greatest rewards from Graveyard Keeper 2 combat is the Town Gratitude. If the player has 1 or 2 battles to fight that week, basically the player can save the effort of crafting for the Town Order.
As for the Victory Banner, the player can use it at the Barracks Blueprint. It expands the area where the player can build the defence structures, meaning the player can build more defence structures after using it.
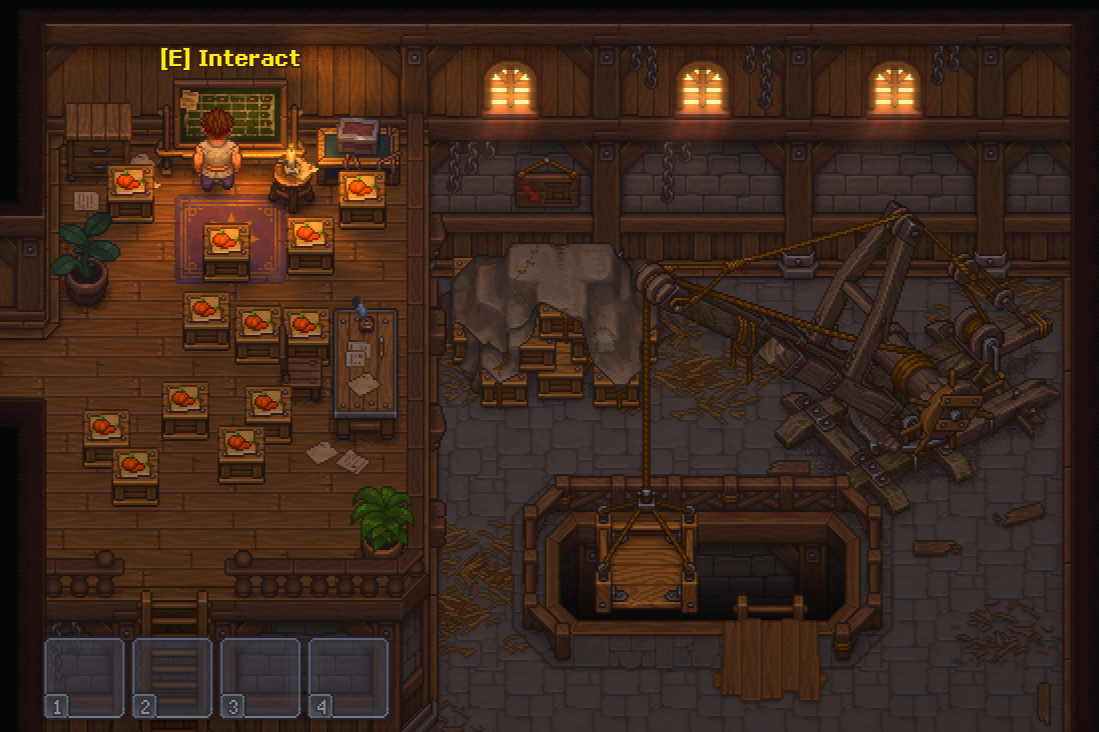
The Defender’s Emblem is for the player to increase the available squad count at the Battle Ram in the Barracks. After increasing the count, the player can start placing new zombie fighters in the Barracks and giving them equipment to join the fight.

Explore: 5 Best Games Like The Sims 4 to Play in 2026
A Practical Strategy for Winning More Battles: Always Overprepare
The most reliable Graveyard Keeper 2 combat strategy is to overprepare. Graveyard Keeper 2 has made the battle so time- and energy-consuming that few players would want to prepare again for a failed battle. If the player over-prepares, at least the player can win and leave some undamaged defence architecture for the next battle.
Generally speaking, the player only needs to do four things:
- Give the zombie squads and the mercenaries the best equipment.
- Build defence buildings to the point that the Defence Power score is 10 – 20 higher than the requirement.
- Protect soldiers and defence buildings by leveraging the enemies’ attack priorities.
- Use potions and mod if the above tips cannot help you win the battle.
💀 If you are confused about how to navigate through alchemy, autopsy, automation, this and that…., our Graveyard Keeper 2 Guide Hub is your home for graveyard management tips, farming guides, crafting tutorials, zombie automation, alchemy, cooking, and much more. We add new guides regularly, so be sure to check back as the graveyard continues to grow!

Graveyard Keeper 2 Combat Guide: How to Win Battles with the Least Effort
Win battles with less grinding! Gear up smartly, exploit enemy priorities, capture checkpoints, and use mods if needed….

Graveyard Keeper 2 Town Orders: How to Unlock & Automate Supplies
This guide explains Graveyard Keeper 2’s Town Orders and how to use a zombie workforce for efficiency….

Graveyard Keeper 2 Gold: Best Way to Get Gold at Each Gaming Stage
The guide outlines optimal strategies for acquiring Gold in Graveyard Keeper 2 across gaming stages….

Graveyard Keeper 2 Dream Dust Recipe & Use: Easy Way to Make
Dream Dust quests, recipes, applications in Graveyard Keeper 2…

Graveyard Keeper 2 Stone Quarry: Location & Zombie Automation
Guide to the three Stone Quarry spots in Graveyard Keeper 2, and what to do with them….

Graveyard Keeper 2 Fertilizers: All Types, Best Uses & Crafting Methods
Graveyard Keeper 2 offers diverse fertilizers, and here’s how to make use of this mechanism better!…